Batch Contract Data Extraction: Map PDFs to CLM
If you are planning your migration to a new CLM, you might be wondering how to bulk upload thousands of legacy PDFs whilst ensuring they remain as searchable and actionable data.
On top of that, you might also be trying to avoid the common pitfalls of contract data migration and ensuring your contract lifecycle software is functional from day one.
If that’s you, you’re not alone.
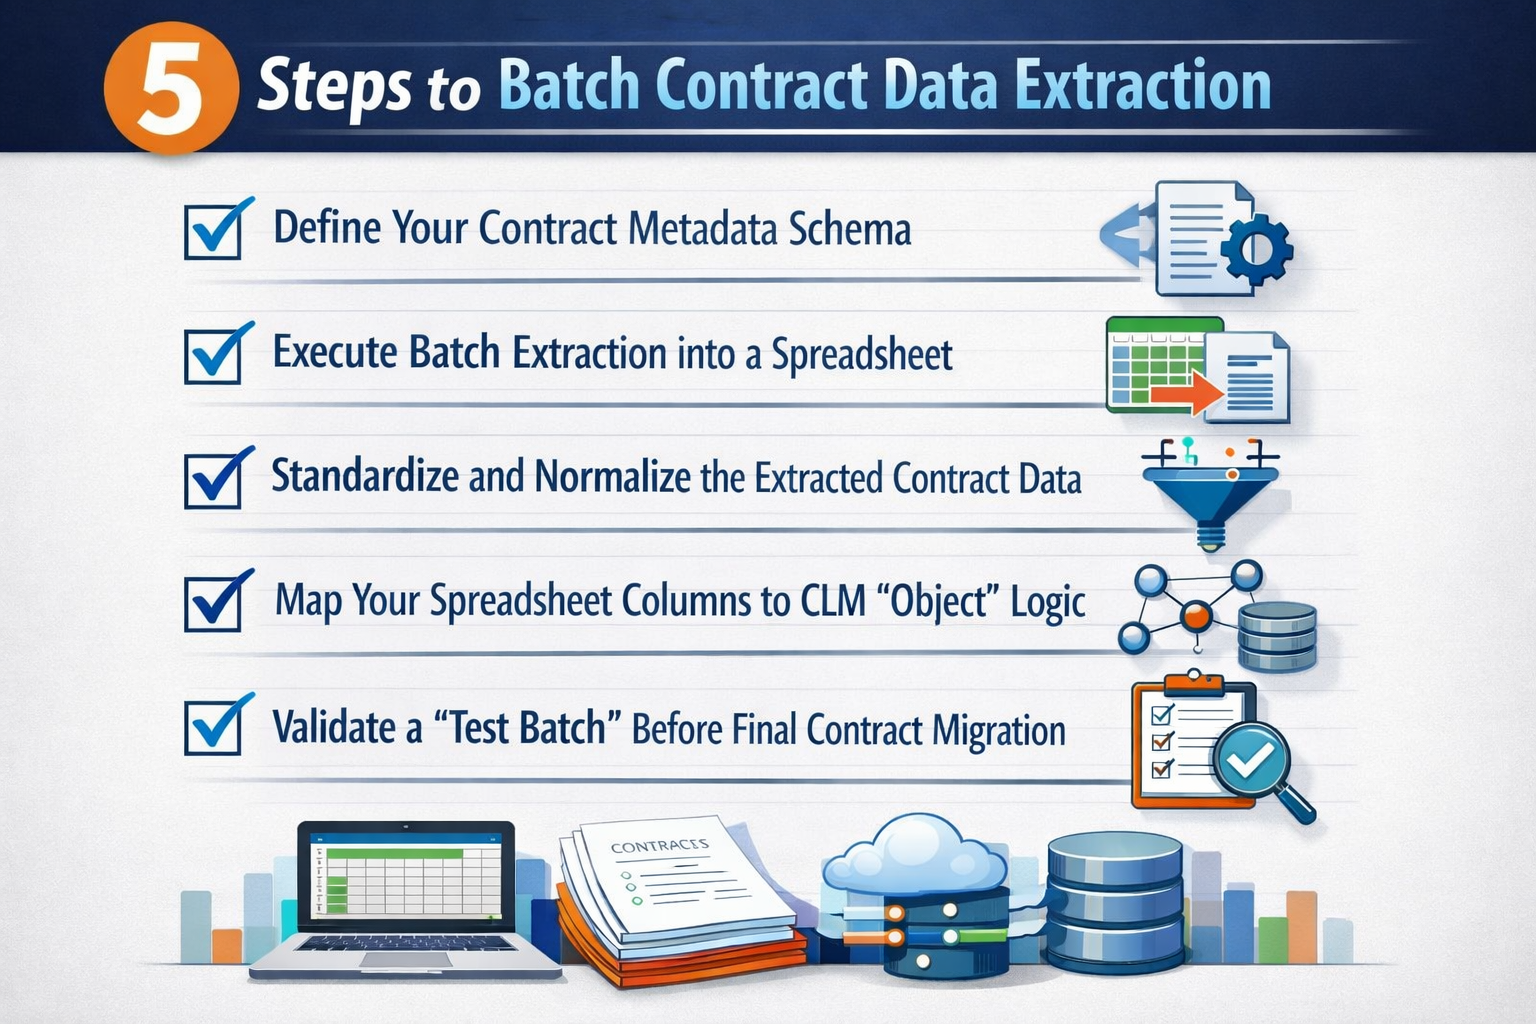
Here are the 5 steps to execute batch contract data extraction:
Step 1: Define Your Contract Metadata Schema
Before you touch a single file, you need to pin down the specific legal data points that actually drive your business. Setting this schema early ensures the extraction tool knows exactly what it’s looking for so it doesn’t get distracted by “noise” in the document.
We recommend focusing on these core fields:
- Essential Identity: Counterparty Name, Contract Type, and Governing Law.
- Key Dates: Effective Date, Expiration Date, and Execution Date.
- Financials/Obligations: Total Contract Value (TCV), Auto-Renewal Clauses, and Termination Notice Periods.
Step 2: Execute Batch Extraction into a Spreadsheet
Once your schema is set, you can run your extraction where the goal is to convert “dead” PDF text into a structured CSV or Excel format. This ensures your data gets converted into a reviewable state before it ever hits the new software, allowing you to spot errors in bulk rather than one by one.
When choosing an extraction tool (like DocuSign Analyzer, Kira, or specialized AI extractors), look for these capabilities:
- Unstructured Text Recognition: The ability to pull variables like indemnity caps from deep within a clause.
- High-Volume Throughput: The capacity to process your entire backlog simultaneously without crashing.
- Export Flexibility: Ensuring the data can be exported into a format your specific CLM natively accepts.
Step 3: Standardize and Normalize the Extracted Data
Now that your data is in a spreadsheet, you’ll likely notice inconsistencies.
For example, “IBM” might appear as “IBM, Inc.” or “International Business Machines.”
You’ll want to normalize these records before the import to ensure your global searches actually work and your database remains clean from day one.
Check for these common normalization issues:
- Entity Names: Consolidating parent companies and subsidiaries into a single naming convention.
- Date Formats: Ensuring every date follows the same logic (e.g., DD/MM/YYYY) to avoid system errors.
- Contract Categories: Grouping “MSAs,” “Master Agreements,” and “Service Agreements” under one standard label.
Step 4: Map Your Spreadsheet Columns to CLM “Object” Logic
With clean data ready, you now have to tell the CLM exactly where to put it.
This involves mapping your spreadsheet columns to the corresponding “objects” or fields in the software.
This step is critical!
If the mapping is off, your automated alerts and obligation tracking won’t fire, and you’ll miss the very alerts the system was designed to provide.
Pay close attention to these mapping triggers:
- Alert Fields: Mapping “Notice Period” to the field that triggers automated email reminders.
- Ownership Fields: Linking the contract to the specific internal “Owner” or “Department” object.
- Parent-Child Links: Ensuring amendments are correctly mapped to their original base agreements.
Step 5: Validate a “Test Batch” Before the Final Migration
The final step is the “sanity check.”
Instead of migrating your entire database at once, run a test import with a small, representative sample of your contracts (maybe 50 to 100 agreements).
This gives you a chance to catch any lingering formatting issues or mapping errors before they become a permanent problem in your new system.
Your validation checklist should include:
- Data Integrity: Does the “Effective Date” shown in the CLM match the original PDF?
- Searchability: Can you find the test contracts using the new filters you just created?
- Logic Check: Do the automated renewal alerts actually appear on your dashboard as expected?
Conclusion
And there you have it.
We hope this step-by-step guide helps you navigate the “heavy lifting” phase of your CLM migration and ensures you’re converting passive paper into high-quality, actionable data.
If you have any questions or want to see how this works in practice, feel free to book a demo with us, we’re always happy to chat strategy.
If not, come check out our next article on how to triage legacy contract debt so you only move the documents that actually matter to your business.
See it in action
Turn contract chaos into a streamlined workflow
Join legal teams who cut contract turnaround time by 60%. Book a 15-minute demo to see how.