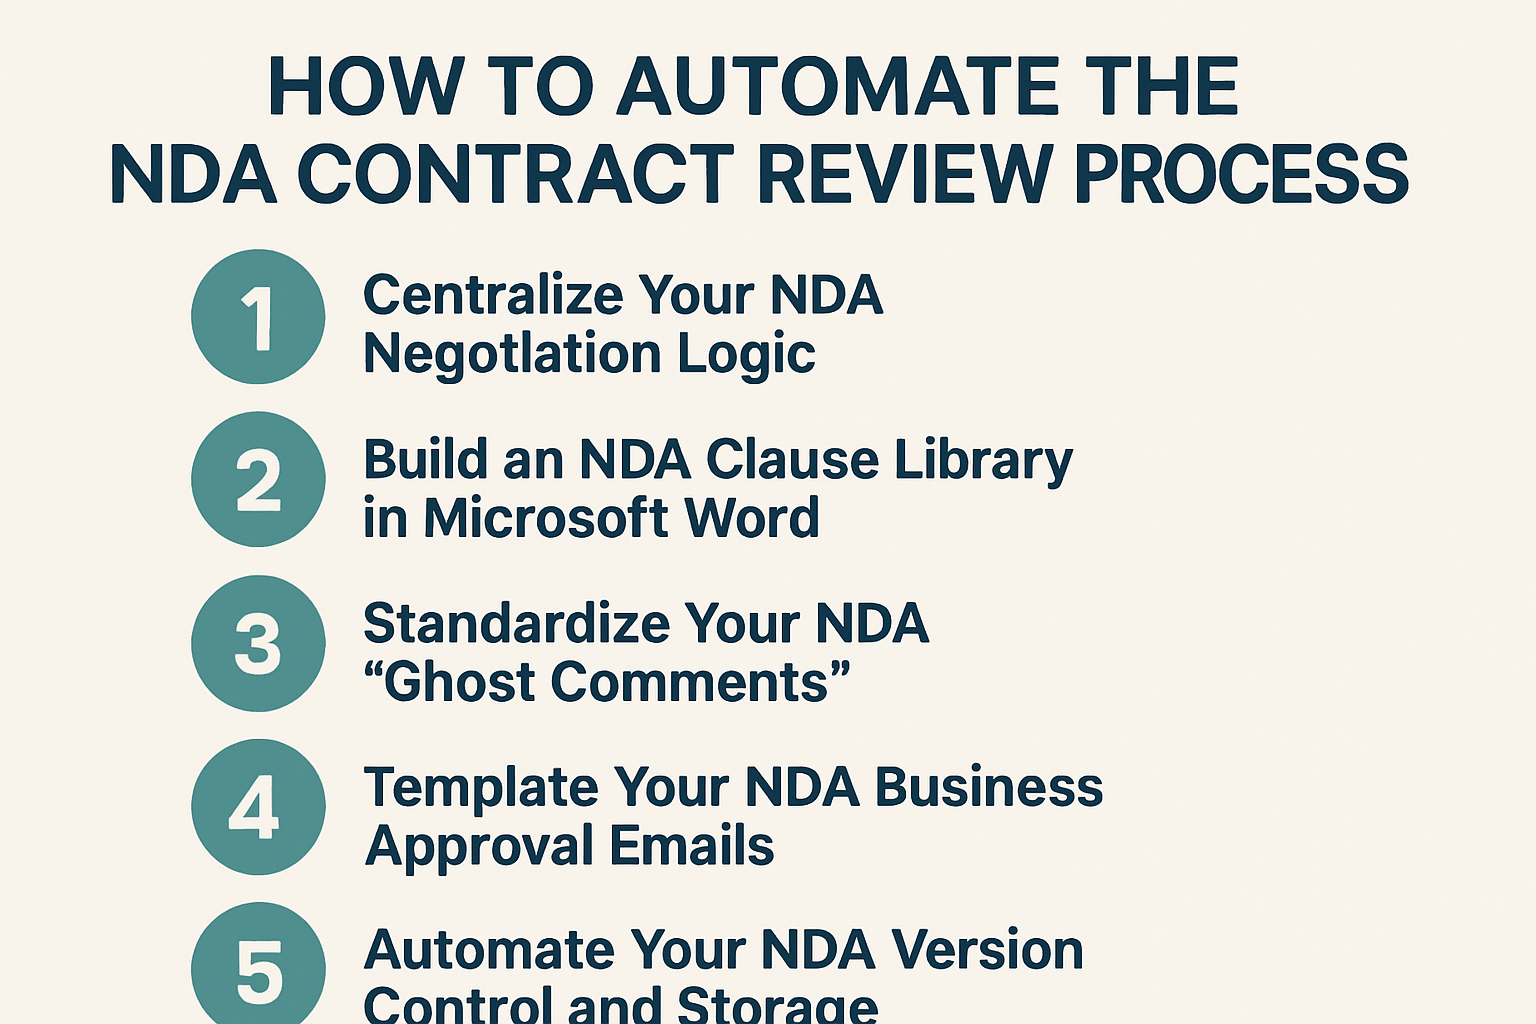
How to Automate the NDA Contract Review Process
While streamlining your NDA redlining helps resolve specific negotiation points, the next step is building a system that identifies and resolves those points automatically.
Here is a framework for automating your NDA review process.
Step 1: Centralize Your NDA Negotiation Logic
- The Action: Create a reference table (in a spreadsheet or a shared document) for common NDA clauses like Term, Governing Law, Residuals, and Non-Solicits.
- The Process: For each clause, list your preferred language and a pre-approved compromise. For example, if you prefer a 2-year term but can accept a 3-year term, document both.
- The Focus: Prioritize the “Big 5” bottlenecks: Confidentiality Term, Governing Law, Residuals, Non-Solicits, and Return of Data.
Step 2: Build an NDA Clause Library in Microsoft Word
- The Action: Use the “AutoText” or “Quick Parts” feature in Word to save your approved NDA redlines and compromise language.
- The Process: Highlight your standard “No-License” proviso or “Mutual” non-solicit text and save it as a Quick Part.
- The Execution: Use these shortcuts to insert your pre-saved redlines into third-party documents instantly rather than re-typing them.
Step 3: Standardize Your NDA “Ghost Comments”
- The Action: Save a list of standard explanatory comments specifically for NDA-related changes.
- The Process: For a marking requirement change, save a comment like: “This provides our team with clear notice of what is protected, which helps prevent accidental disclosure.”
- The Execution: Insert these comments during your redlining turn to provide the counterparty with immediate context, reducing the need for follow-up emails.
Step 4: Template Your NDA Business Approval Emails
- The Action: Create email templates for the “Legal Approved” handoff of the final NDA to the business team.
- The Process: Draft a template that summarizes the key commercial terms (e.g., Term, Non-Solicit, and Governing Law) and provides a clear link for the business owner to review and sign.
- The Execution: Send this summary to the relevant department head to ensure commercial risks are reviewed and approved by the right stakeholders.
Step 5: Automate Your NDA Version Control and Storage
- The Action: Establish a consistent naming convention and folder structure specifically for NDA tracking in your shared drive.
- The Process: Use a standardized format like [Date]_[Company]_NDA_v1 and move documents through folders labeled “In Review,” “Awaiting Signature,” and “Executed.”
- The Execution: Monitor these folders to track the progress of each agreement and ensure the final approved version is the one sent for signature.
Closing Thoughts
We hope this guide has been helpful in showing how you can move from manual review to a more automated process. However, a contract review system is only as good as the documents you feed into it.
To ensure your automation stays efficient, check out our next guide on how to manage NDA templates for faster drafting and review.
Share:
See it in action
Turn contract chaos into a streamlined workflow
Join legal teams who cut contract turnaround time by 60%. Book a 15-minute demo to see how.