You’ve received a link to fill out a form in Pactly, typically to request a new contract or provide information that your legal team needs. This guide walks through the process from opening the link to submitting the form.
Click the form link you received. It opens in your browser and does not require a Pactly account or login.
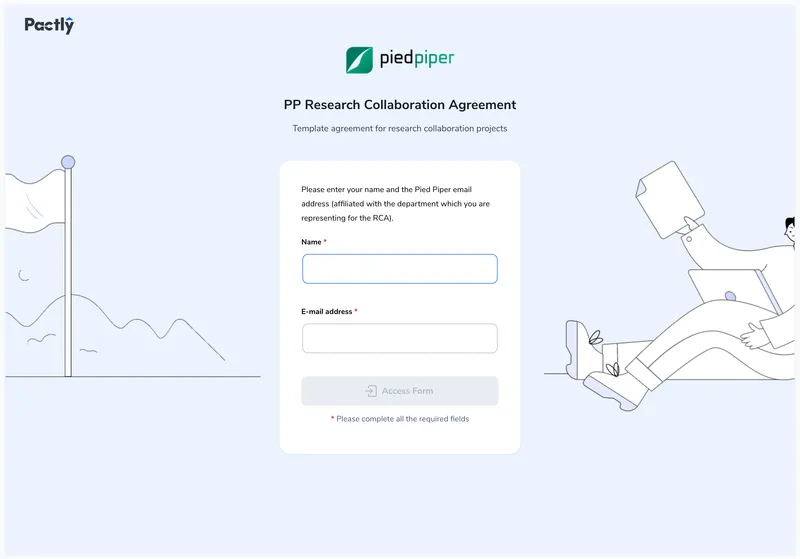
Step 1 of 2
1
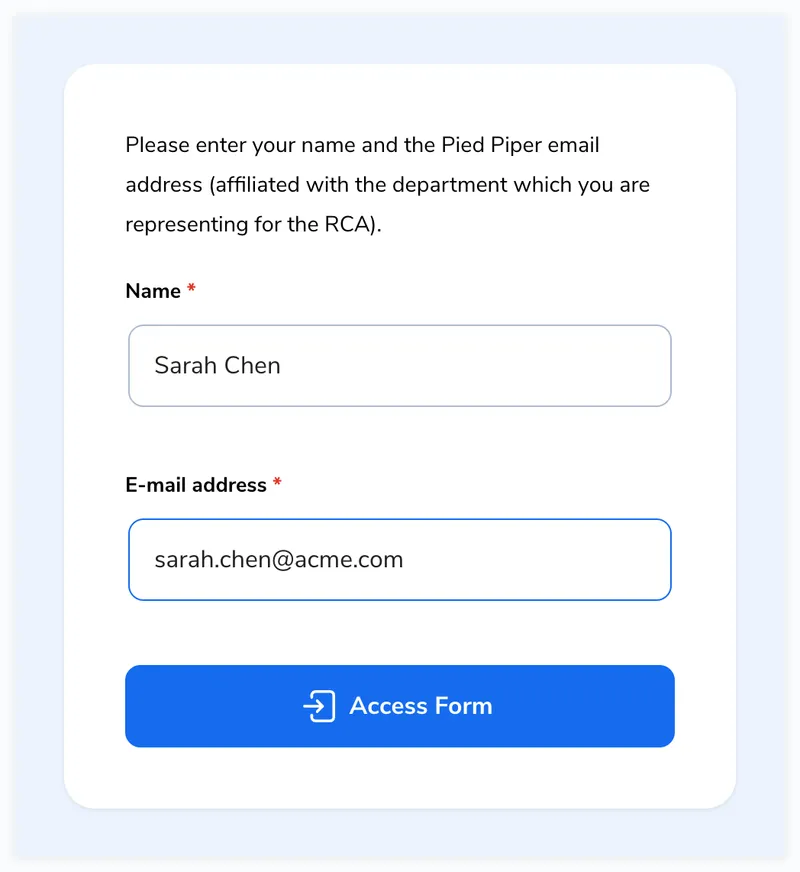
Enter your name and email
The form starts with an access gate asking for your Name and E-mail address. Both are required. Some forms restrict submissions to specific email domains (e.g., only @yourcompany.com addresses). If your domain is not allowed, you will see a warning message.
2
Click Access Form
Fill in your name and email, then click Access Form. The button becomes active once both fields are filled. You will be taken to the form itself.
Forms contain different types of fields depending on what information is needed:
Text fields for names, descriptions, and free-form answers
Dropdowns for selecting from a list of options (e.g., faculty, governing law)
Date pickers for selecting dates (e.g., effective date, expiry date)
Radio buttons for choosing one option from a set
File uploads for attaching documents
Party fields for entering company or individual contact details
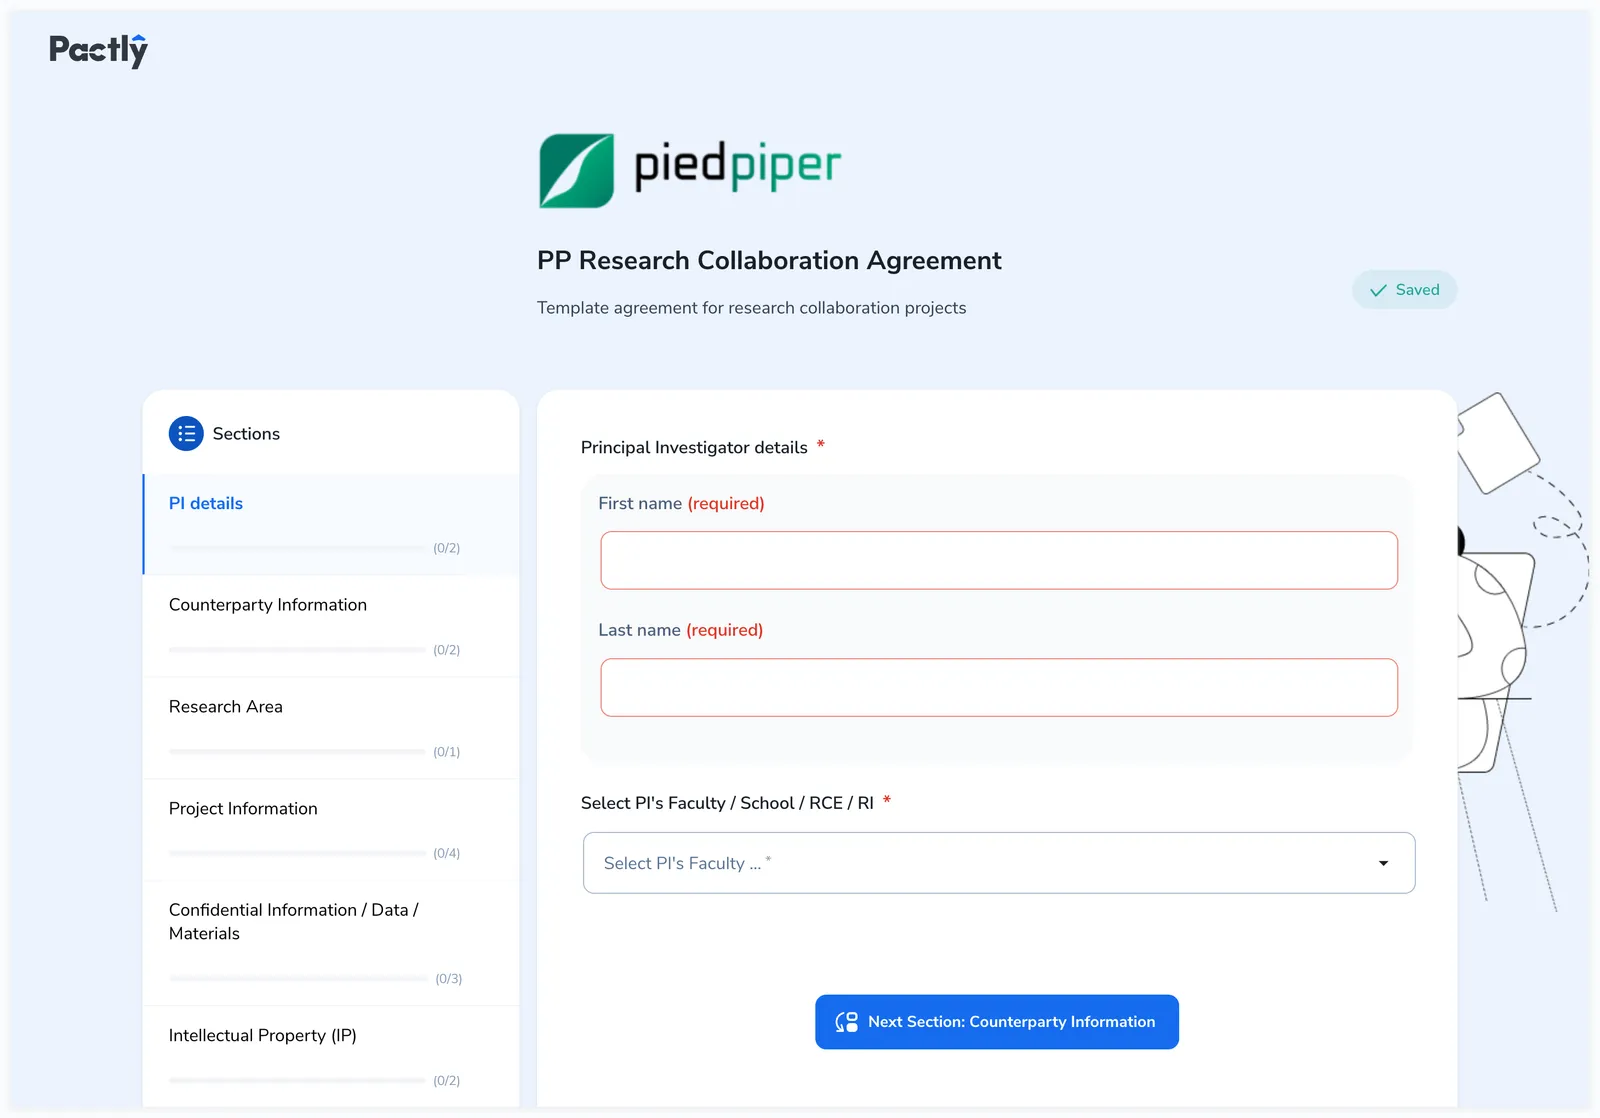
Required fields are marked with (required) or an asterisk (*). The form cannot be submitted until all required fields across every section are filled in.
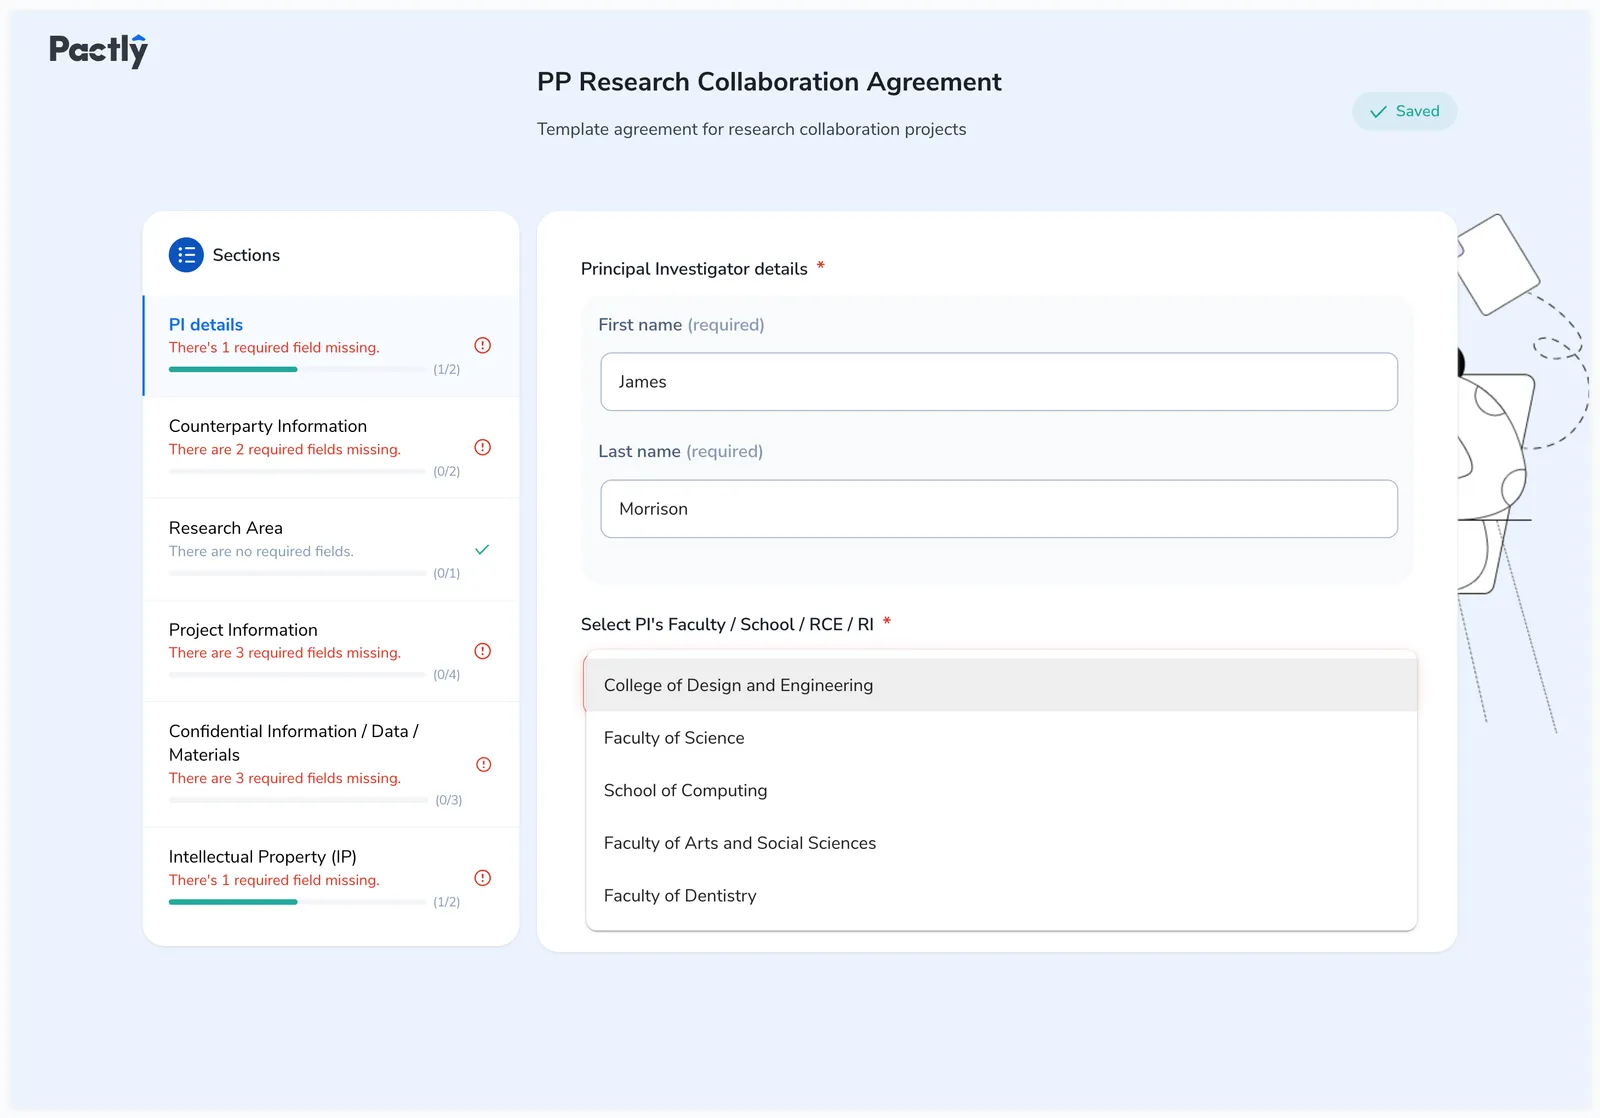
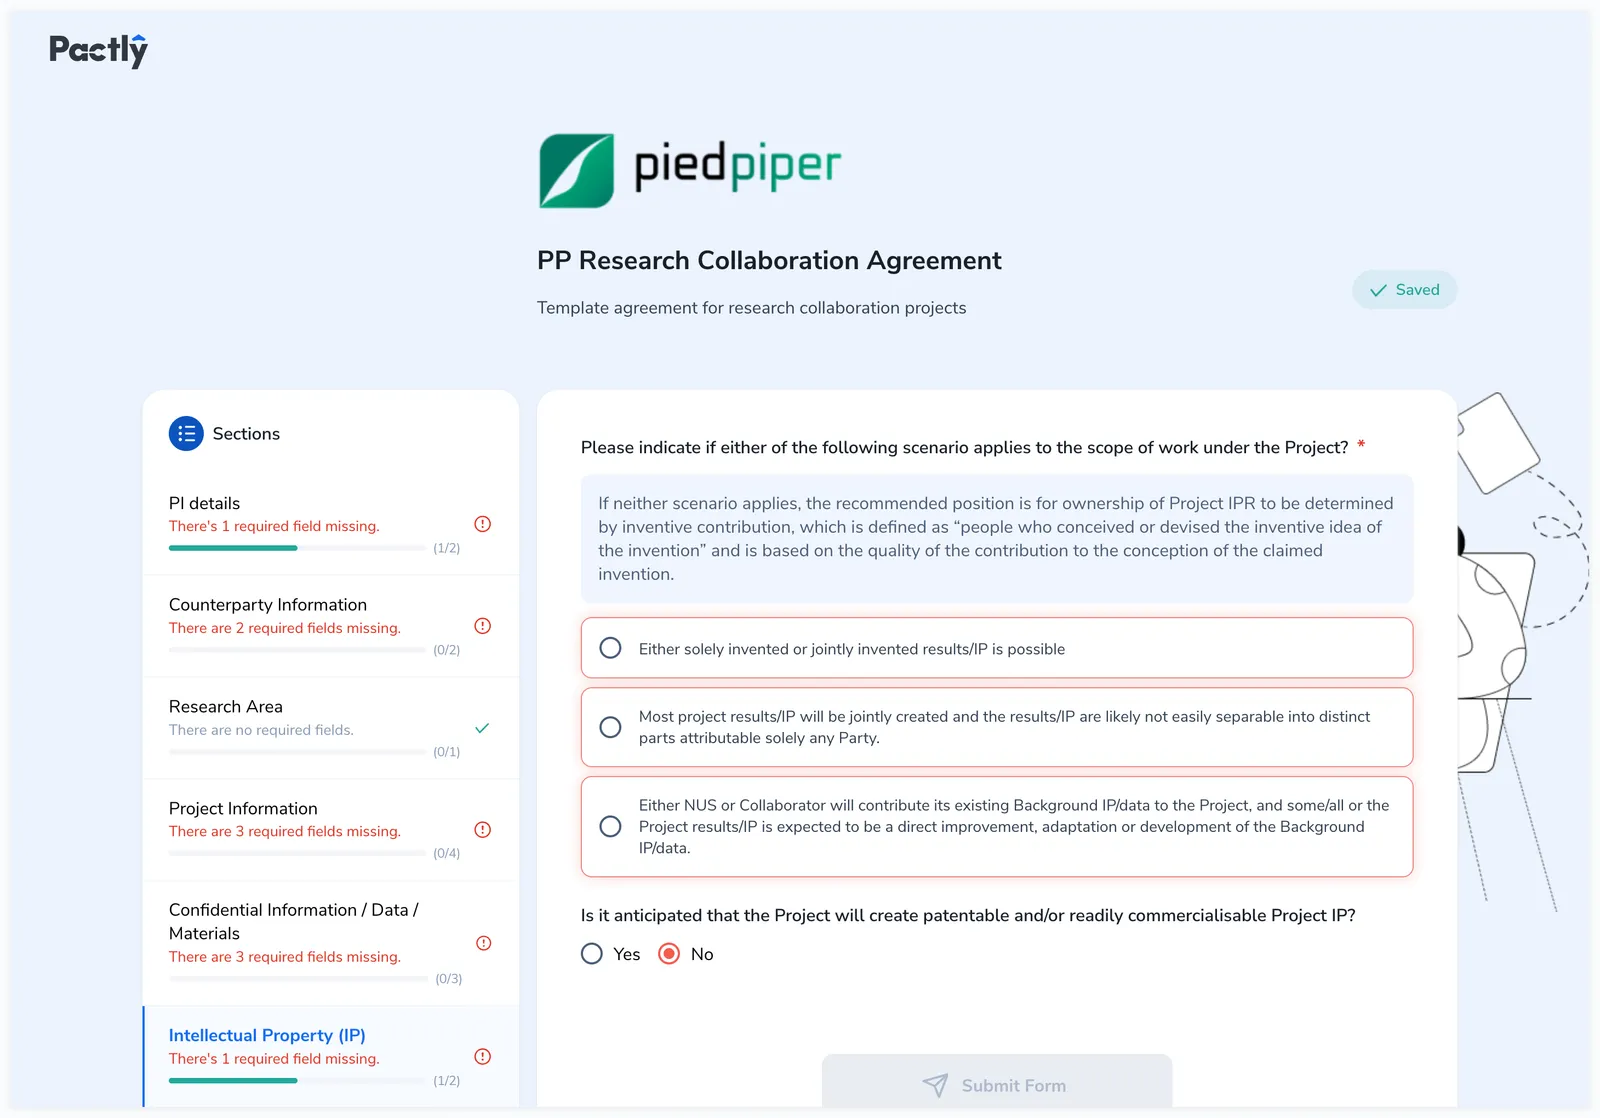
Filling in text fields and selecting from a dropdown. The sidebar updates to show which sections still have required fields missing.
Some fields may appear or disappear as you answer other questions. For example, selecting a specific option in a dropdown may reveal additional fields that are relevant to that choice. This is normal and ensures you only see questions that apply to your situation.
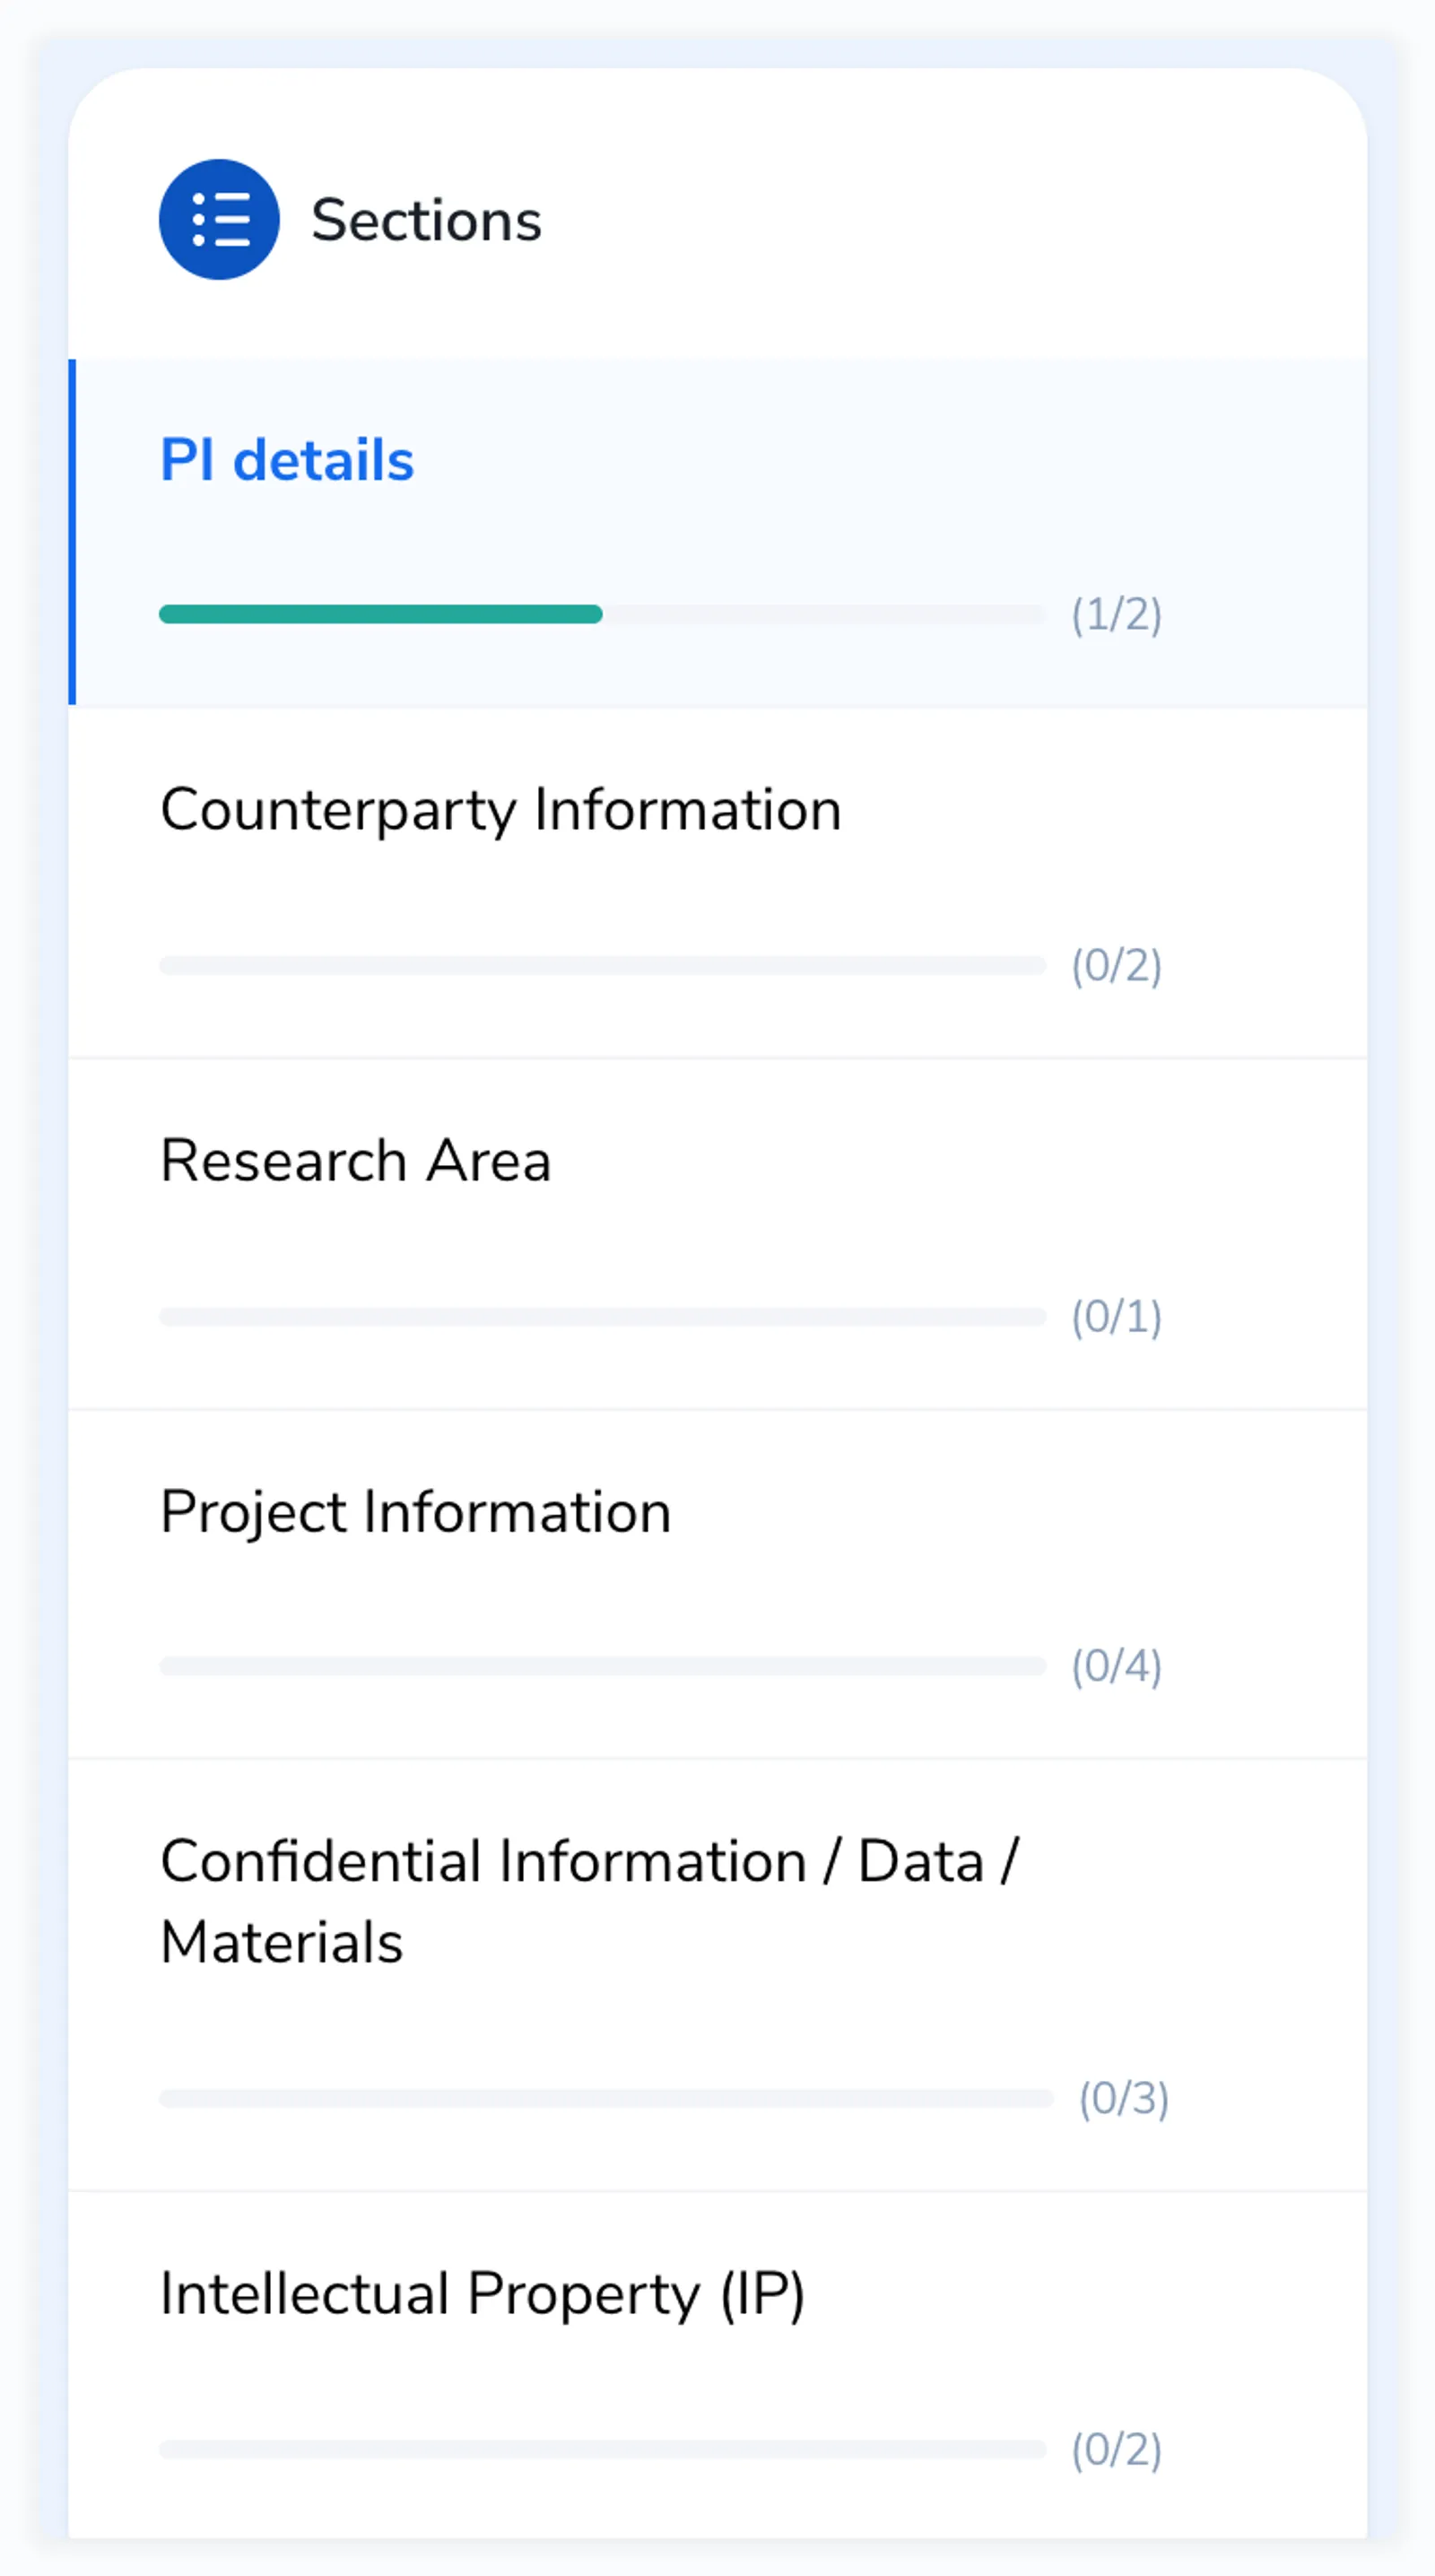
Longer forms are divided into sections. The sidebar on the left shows each section with:
A progress bar showing how many fields you have completed (e.g., 1/2)
A status message like “There’s 1 required field missing” or “All required fields are filled-in”
A checkmark or error icon indicating completion status
Click any section name in the sidebar to jump to it. You do not need to fill sections in order.
The section sidebar with progress indicators for each section
At the bottom of each section, a blue Next Section button takes you to the following section. Some sections also show a gray Submit button that lets you submit that section independently (useful for multi-stage workflows where different sections are completed by different people).
The Next Section button advances to the next section of the form
Your progress is saved automatically as you fill in fields. The Saved indicator (a green checkmark with “Saved”) appears in the top-right corner of the form header. If you see “Saving…” with a spinner, the form is saving your latest change. Wait for it to complete before closing the page.
If you close the browser and return to the same link later, your previous answers will still be there.
Once all required fields across every section are complete, navigate to the last section and click Submit Form at the bottom.
The Submit Form button appears at the bottom of the last section. The sidebar shows which sections still need attention.
If required fields are still missing, the Submit Form button is disabled and a message tells you to complete all required fields in every section. Check the sidebar for sections marked with an error icon.
After submission, you will see one of these outcomes:
A confirmation screen showing a summary of your answers
A redirect to another form (if the form is part of a multi-step workflow)
A redirect to an external URL configured by your admin
Once submitted, the form becomes read-only. You cannot edit your answers after submission unless the admin has enabled editable entries.
You see the message “This form link has been revoked”. The person who shared the form deactivated the link. Contact the sender for a new one. If a sender email is shown on the page, use that address.
The link is invalid, please contact the person who shared it with you
You see the message “The link is invalid, please contact the person who shared it with you.” The link may have been copied incorrectly, or the form may have been deleted. Ask the person who shared it to send the full link again.
Check that your file is within the allowed file types and size limits configured for that field. Common accepted formats are PDF, DOCX, and Excel files.
Some forms restrict submissions to specific email domains (e.g., only @yourcompany.com addresses). If your email is rejected, contact the form administrator.