1
Open Manage Forms
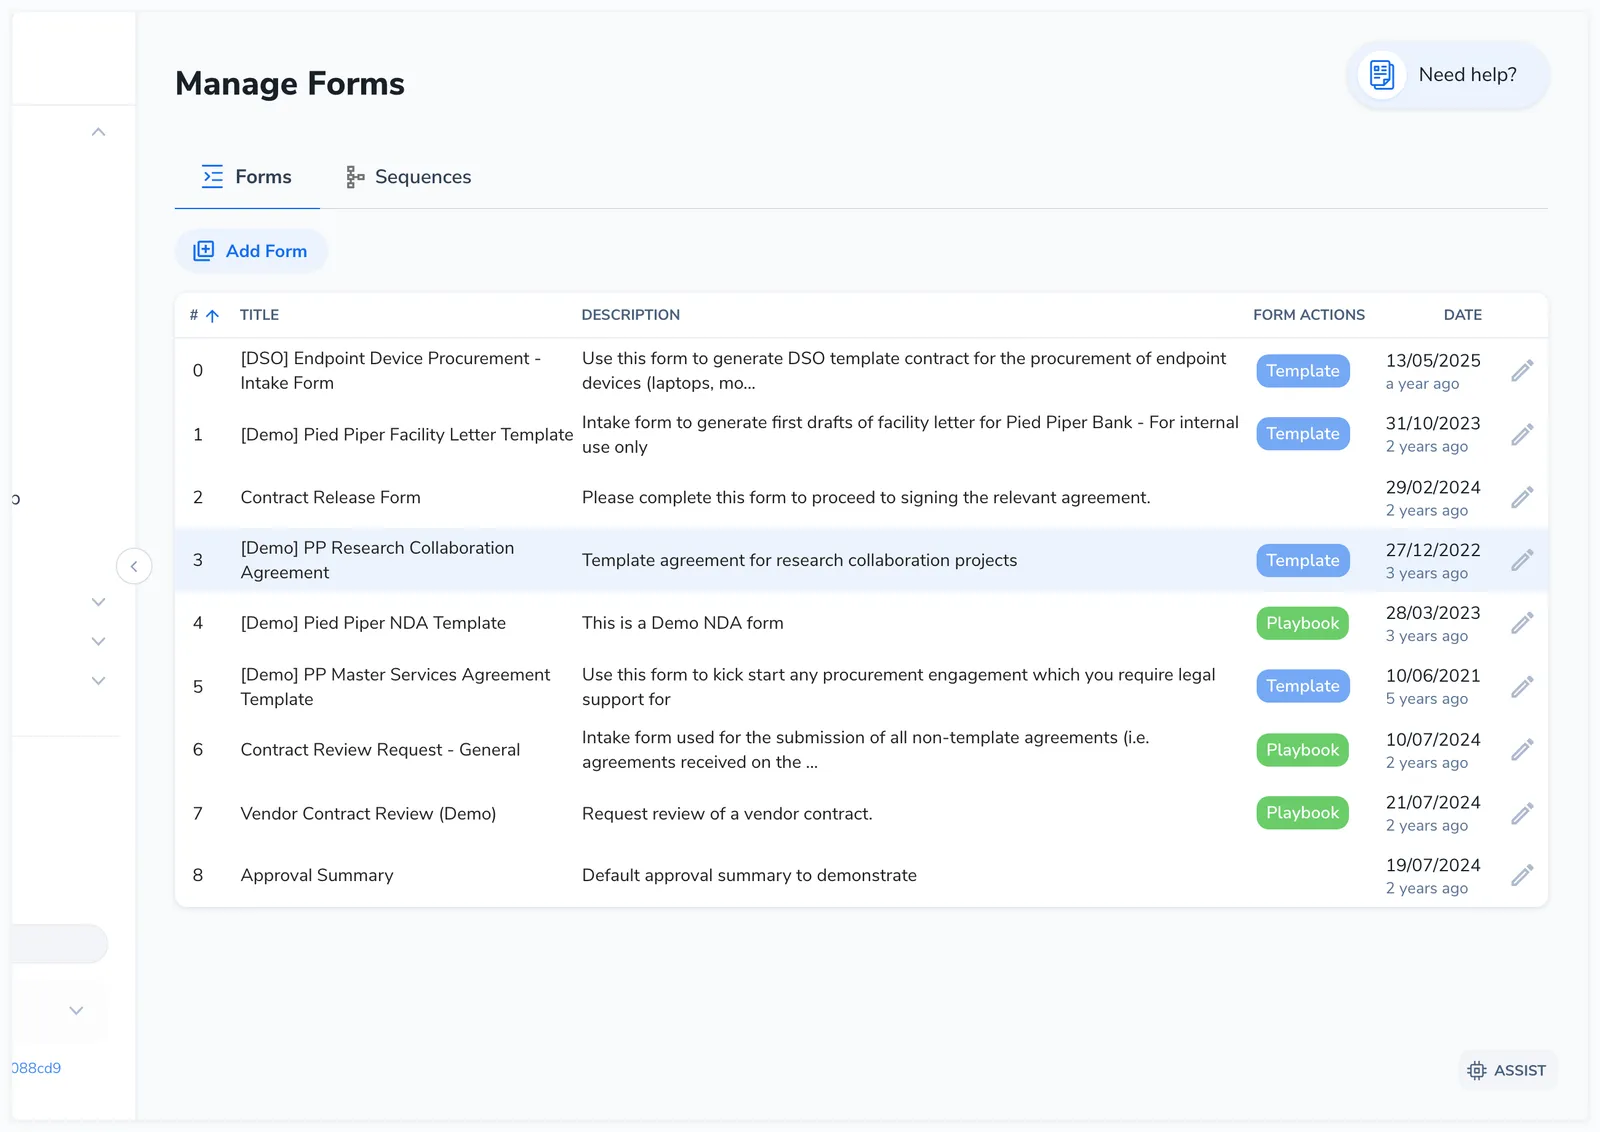
Click Manage Forms in the left sidebar to see your form library.
A form is a reusable intake questionnaire. You build it once, connect it to your contract templates, and it collects exactly the information those templates need, routes submissions to the right people, and can generate contracts automatically.
The form builder is accessed from Manage Forms in the left sidebar. It has three tabs:
The Fields and Actions tabs are covered below. Actions and Settings have their own dedicated articles for deeper coverage.

Click Manage Forms in the left sidebar to see your form library.
Click the Add form button in the top right. A dialog opens where you configure the new form.
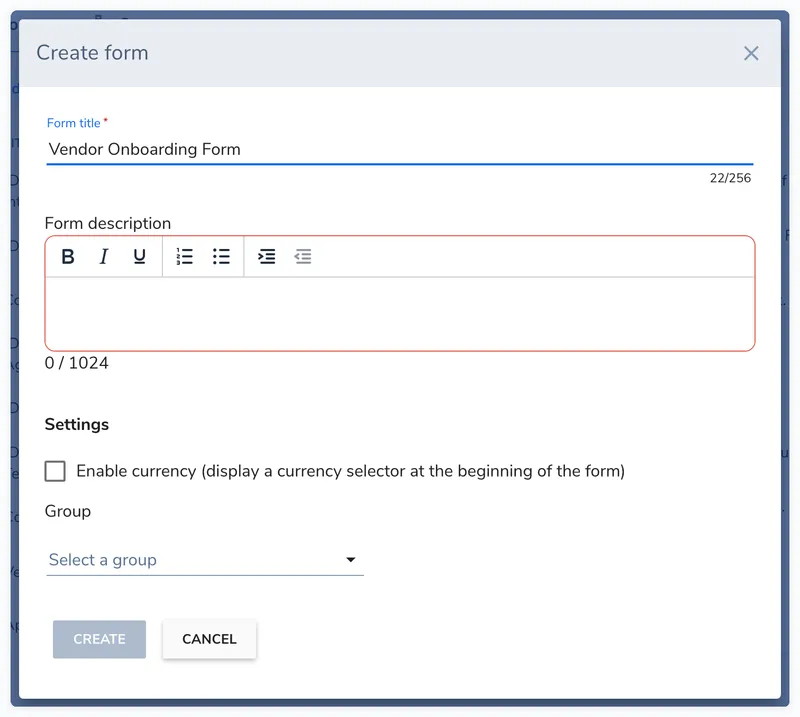
Enter a Form title (3-256 characters) and a Form description (3-1024 characters, supports rich text) that explains the purpose of the form to requesters. Optionally enable Currency to add a currency selector, or assign a Group to restrict visibility.
Click Create. The form builder opens with the Fields tab active and an empty field list. Click Add Field to create your first field.

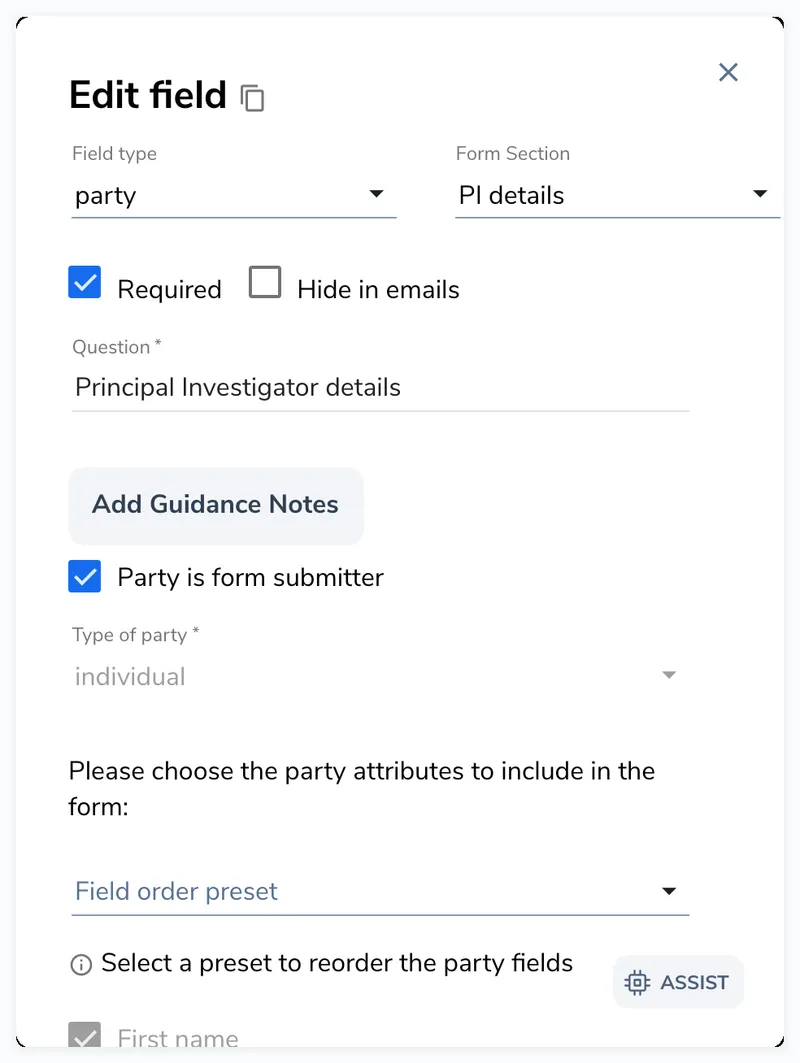
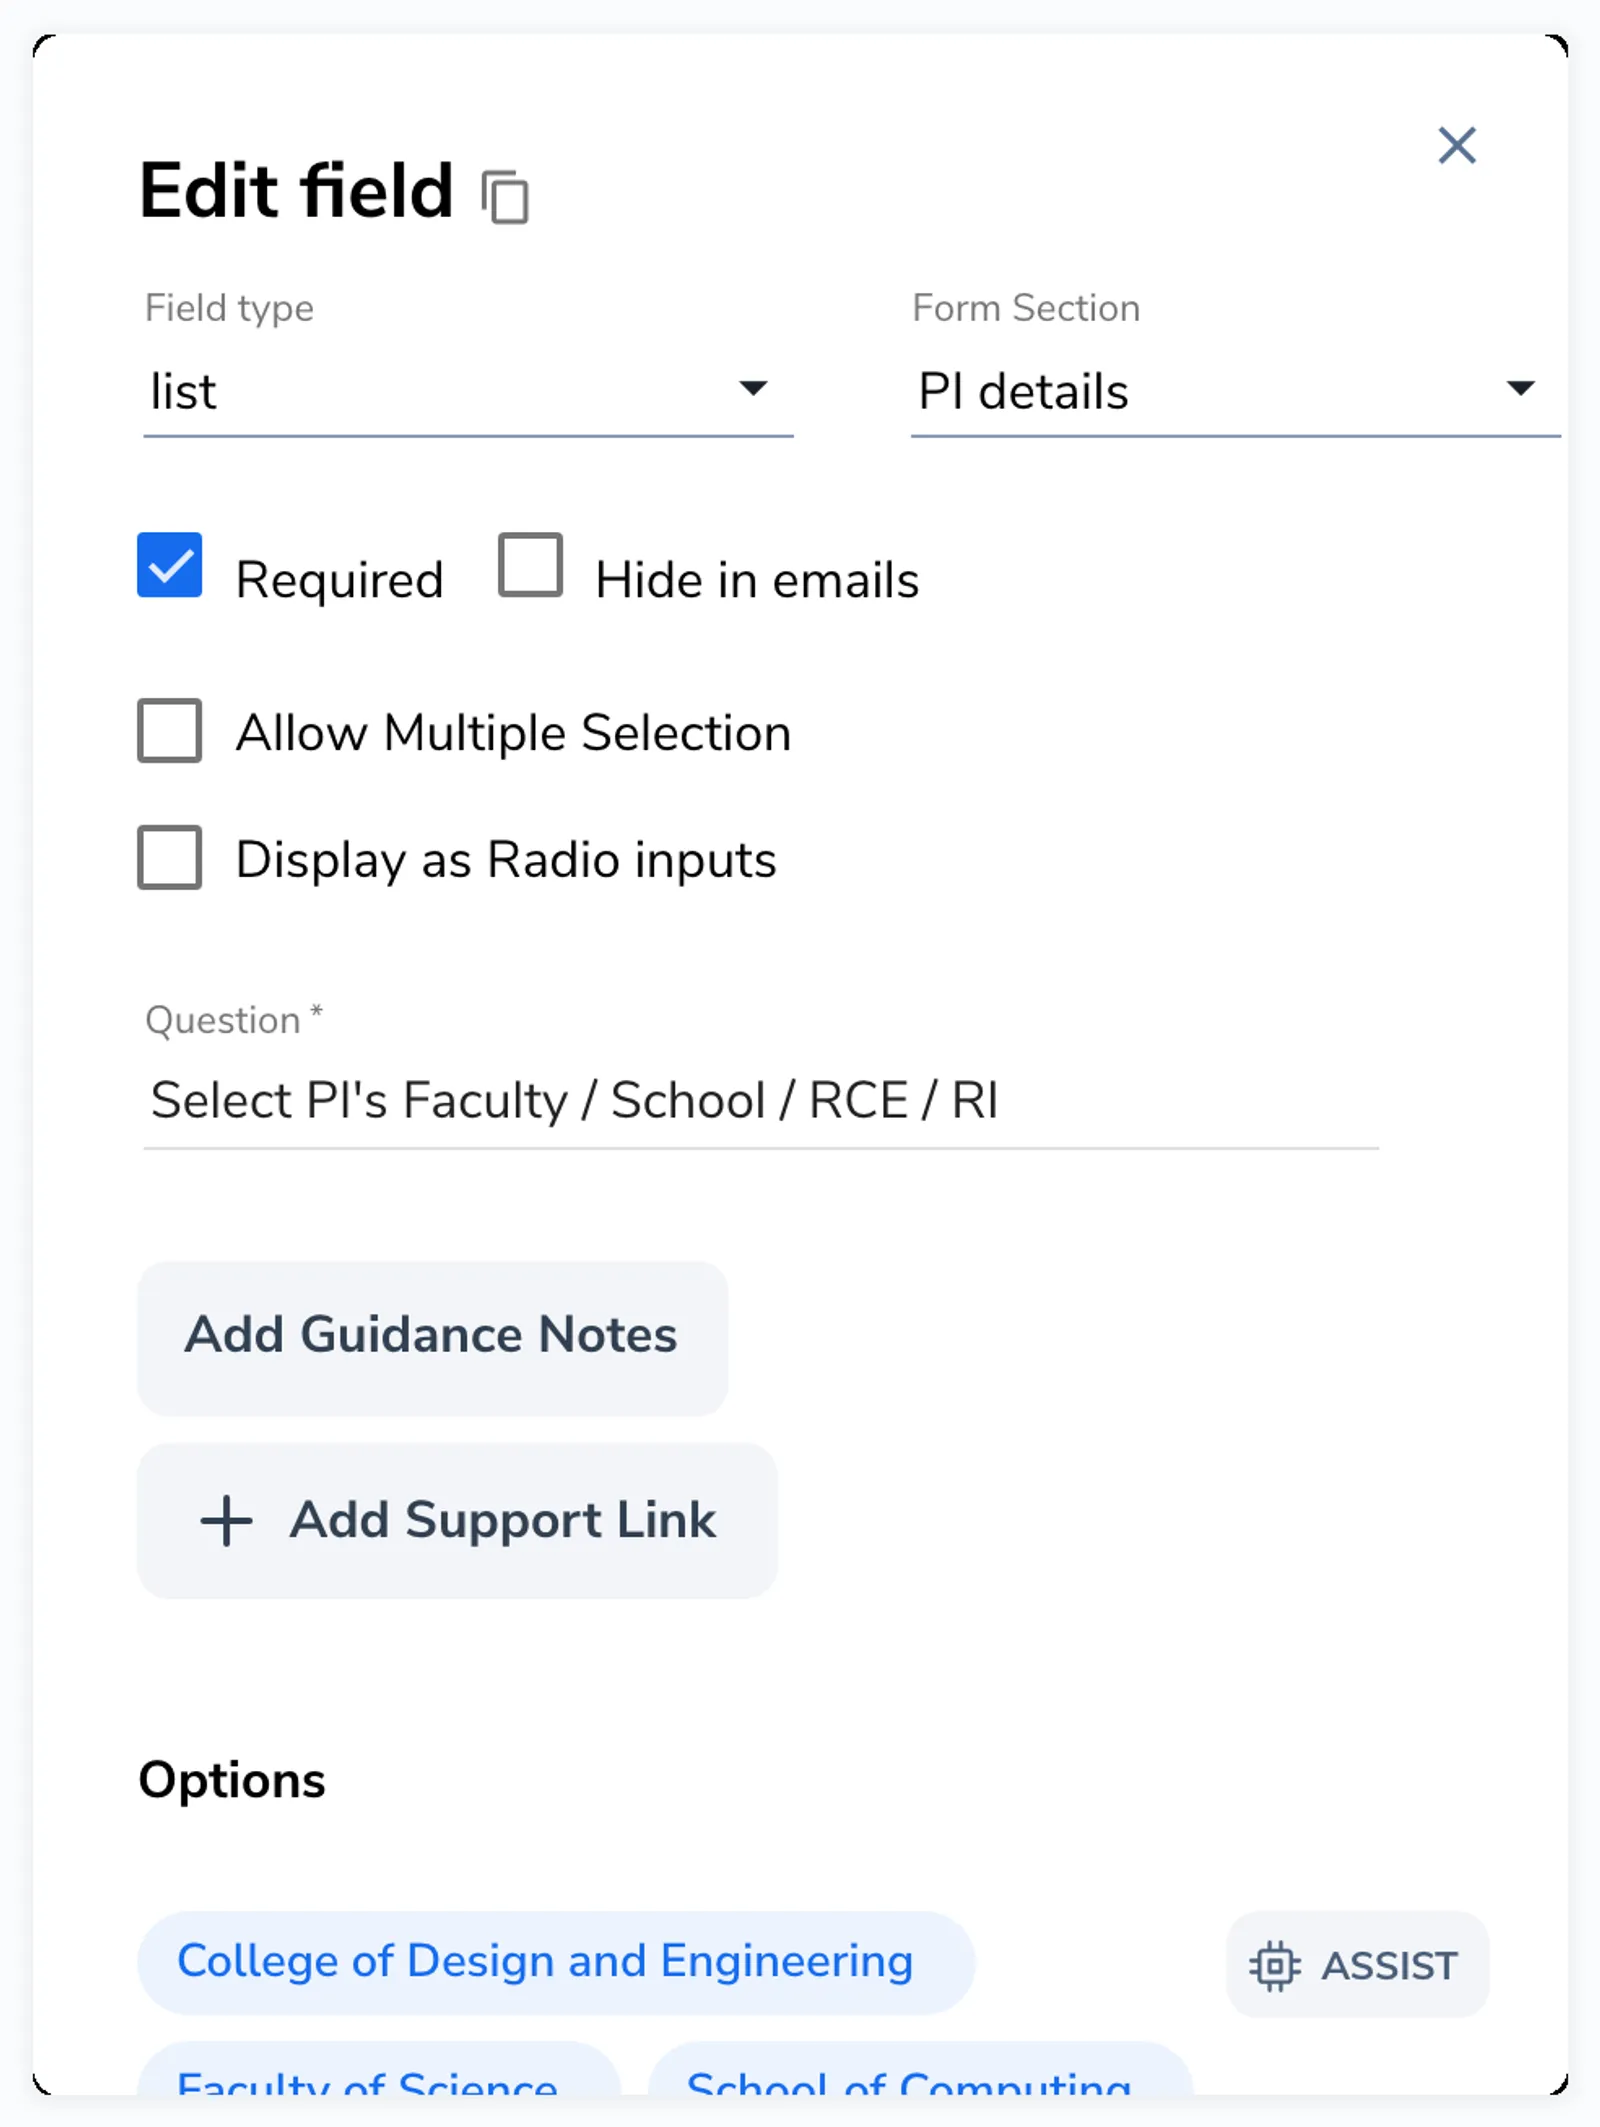
For each field, pick a type (a), set whether it is Required (b), and write the Question the requester sees (c). Use Add Guidance Notes for optional help text. The rest of the editor shows options specific to the type you chose.
Switch to the Actions tab to configure what happens on submission (contract generation, import, redirect). Then check the Settings tab for naming patterns, email preferences, and entry management. See Form Actions and Field Mappings and Naming for details.

Each field type has additional options. For example, list fields have options to configure, date fields have format settings, and party fields have role and attribute configuration. These are covered in the Field Types Reference.
Sections break your form into logical groups. By default, all fields are in a single section. To add sections:
Fields can be assigned to sections from the field editor dropdown, or by dragging fields between sections.
Fields within a section can be reordered by dragging them. Grab a field from its drag handle and drop it in the desired position. The position numbers update automatically.
You can also drag fields between sections. Drag a field from one section and drop it into another. An empty section shows the message “No fields in section. You can add fields by dragging them here.”
Each section header displays:
Sections can be edited (rename, reposition) or deleted. System sections cannot be deleted.
Click Preview in the form header to see how the form looks to requesters. The preview opens in a new tab and shows the full form with all sections and fields rendered.
In preview mode:
Click Edit in the form header to update the form title, description, currency setting, or group assignment. The same dialog from creation appears with the current values pre-filled.
Forms have a lock toggle in the header to prevent accidental changes. When locked, a lock icon appears and field editing is disabled. Click the lock icon to unlock before making changes. This is particularly useful for production forms that should not be modified without deliberate intent.

Click Delete in the form header. Deleting a form also deactivates all access keys associated with it, so anyone with an existing link will see a “form not available” message.
Deletion is a soft delete. Submitted entries from the deleted form remain accessible in the entries list.
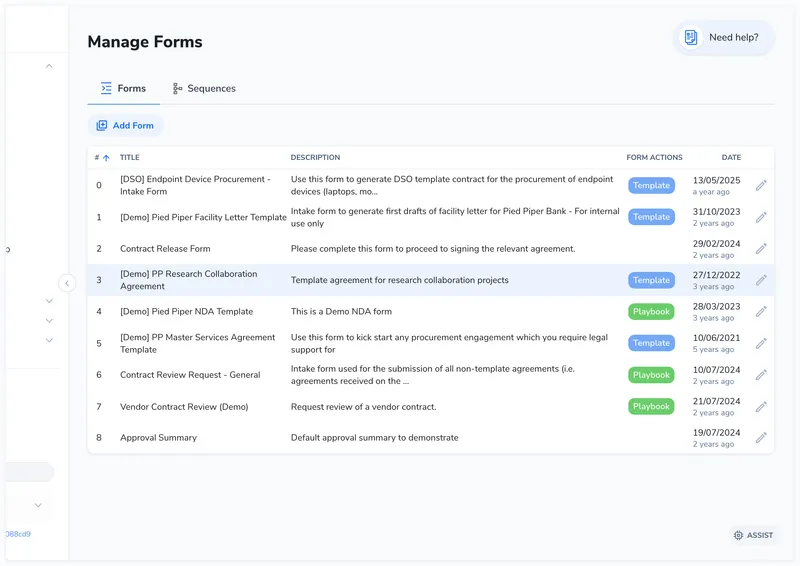
The Manage Forms page shows all forms in a sortable table with:
| Column | Description |
|---|---|
| # | Display position (determines the order forms appear in the contracting hub) |
| Title | Form name |
| Description | First 100 characters of the description |
| Form actions | Color-coded pills showing action types: Template (generate), Playbook (create), Redirect, Request, Attachment |
| Date | Creation date |
Click any form row to open the form builder. Click the edit icon to update the form’s basic properties (title, description, position).
We typically reply within a few minutes